HOME / RESOURCES / SURFACE DESIGN
DESIGN & MANUFACTURING GUIDE
How to make 3D printed parts look professional.
Six design-led approaches to help a printed part look intentional, presentation-ready and closer to the product experience you want to test.
THE DIRECT ANSWER
3D printed parts can look more professional when texture, geometry, print orientation and finishing are selected around the appearance the part needs to achieve. For FDM parts in particular, details such as fuzzy skin, ribbing and contour-line geometry can reduce the visual dominance of layer lines. When a smoother surface is the priority, a different process or finishing route may be more appropriate.
Speed and flexibility are valuable, but a product team often needs a prototype to do more than prove that a form exists. It may need to communicate the intended product, support a review or look convincing in front of a customer. The most useful way to improve that result is to make the surface decision early—rather than treating it as an afterthought once the part is printed.
The six images in this guide are visual references for surface direction. They illustrate design approaches, not confirmed FORGEWAY customer projects; the suitable process, material and finish are reviewed for each part.
01 / SIX DESIGN TECHNIQUES
Make the surface feel part of the product.
Each approach changes how light, touch and form are perceived. None is automatically right for every part—the goal is to choose an appearance that supports the product and the next decision.
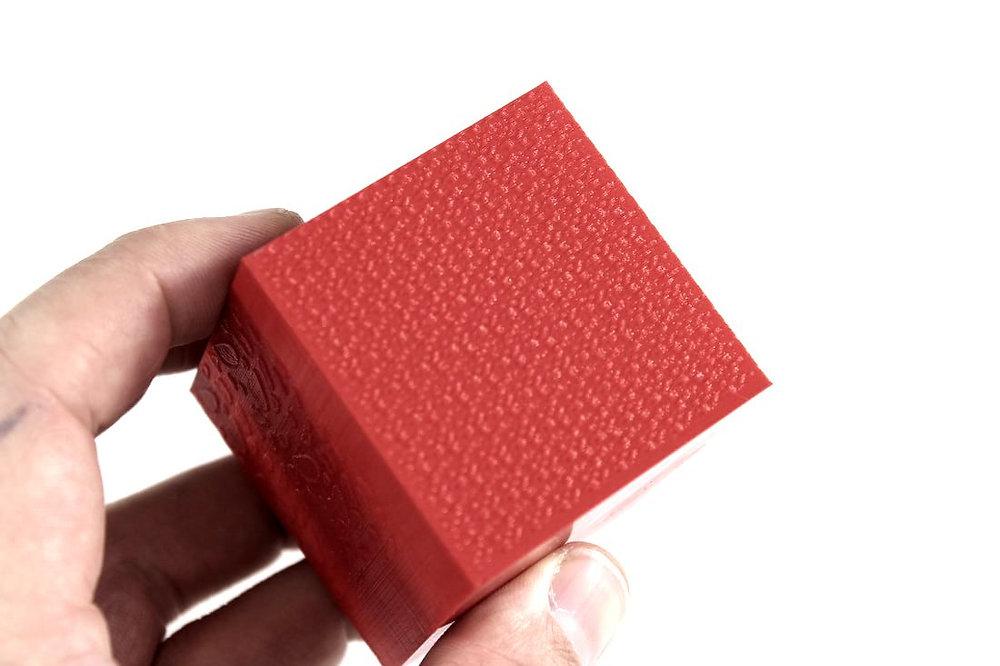
01 / FUZZY OR ORANGE-PEEL TEXTURE
Break up the bare-plastic read.
A fine, deliberate texture can make an FDM surface feel more tactile and less like a raw technical shell. Rather than making every layer line the main visual feature, the eye reads an overall surface character: ceramic-like, soft stone-like or simply more considered.
This direction can work for visible housings, lighting, home accessories and early appearance models. It is a visual strategy—not a universal strength upgrade—so wall thickness, feature size and intended use still need their own engineering review.
USE WHEN: The part needs tactile presence and a less exposed-plastic appearance.
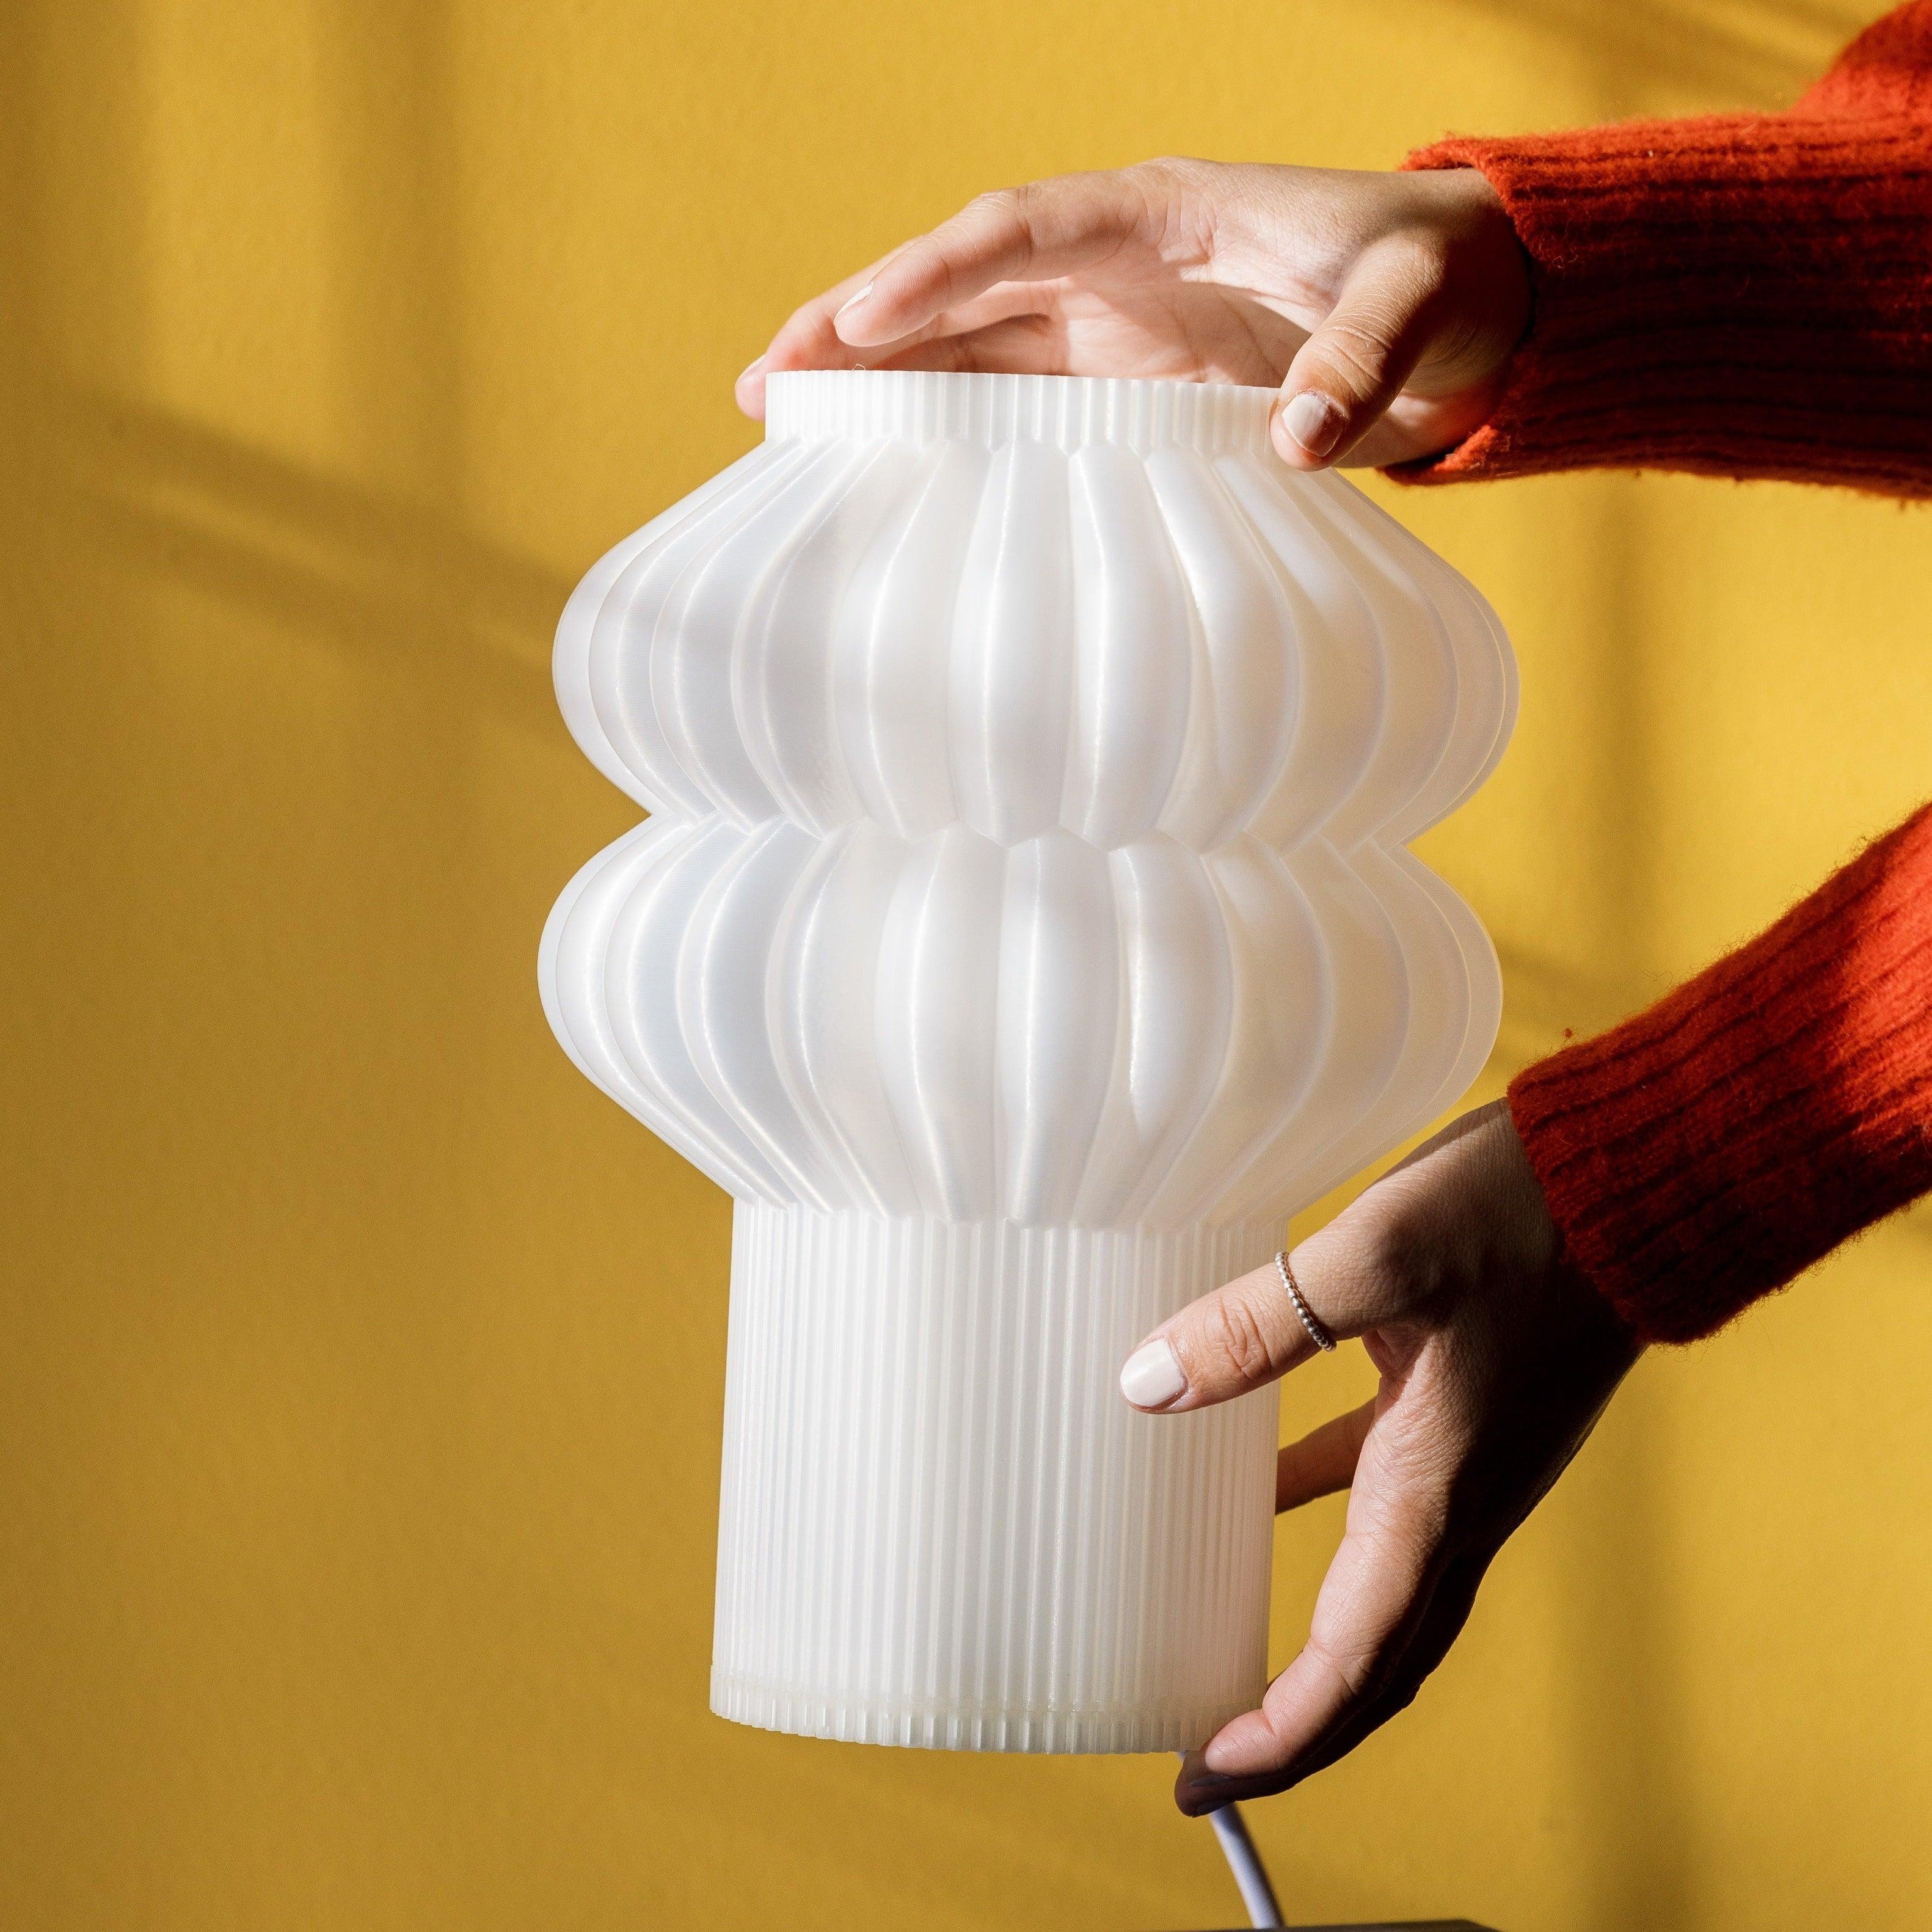
02 / A SECONDARY OUTER SHELL
Create depth between function and appearance.
A layered enclosure can give a product clearer visual hierarchy. The inner structure can focus on fit, mechanical relationships or electronics, while the outer shell controls the visible surface and the way the finished object reads.
That separation is useful for housings, lamps, consumer products and display models. It also adds decisions: material use, weight, fastening, tolerance and assembly all need to be planned. The second shell should earn its place by improving the product experience, not simply adding thickness.
USE WHEN: The product benefits from a distinct outer skin or a concealed functional core.
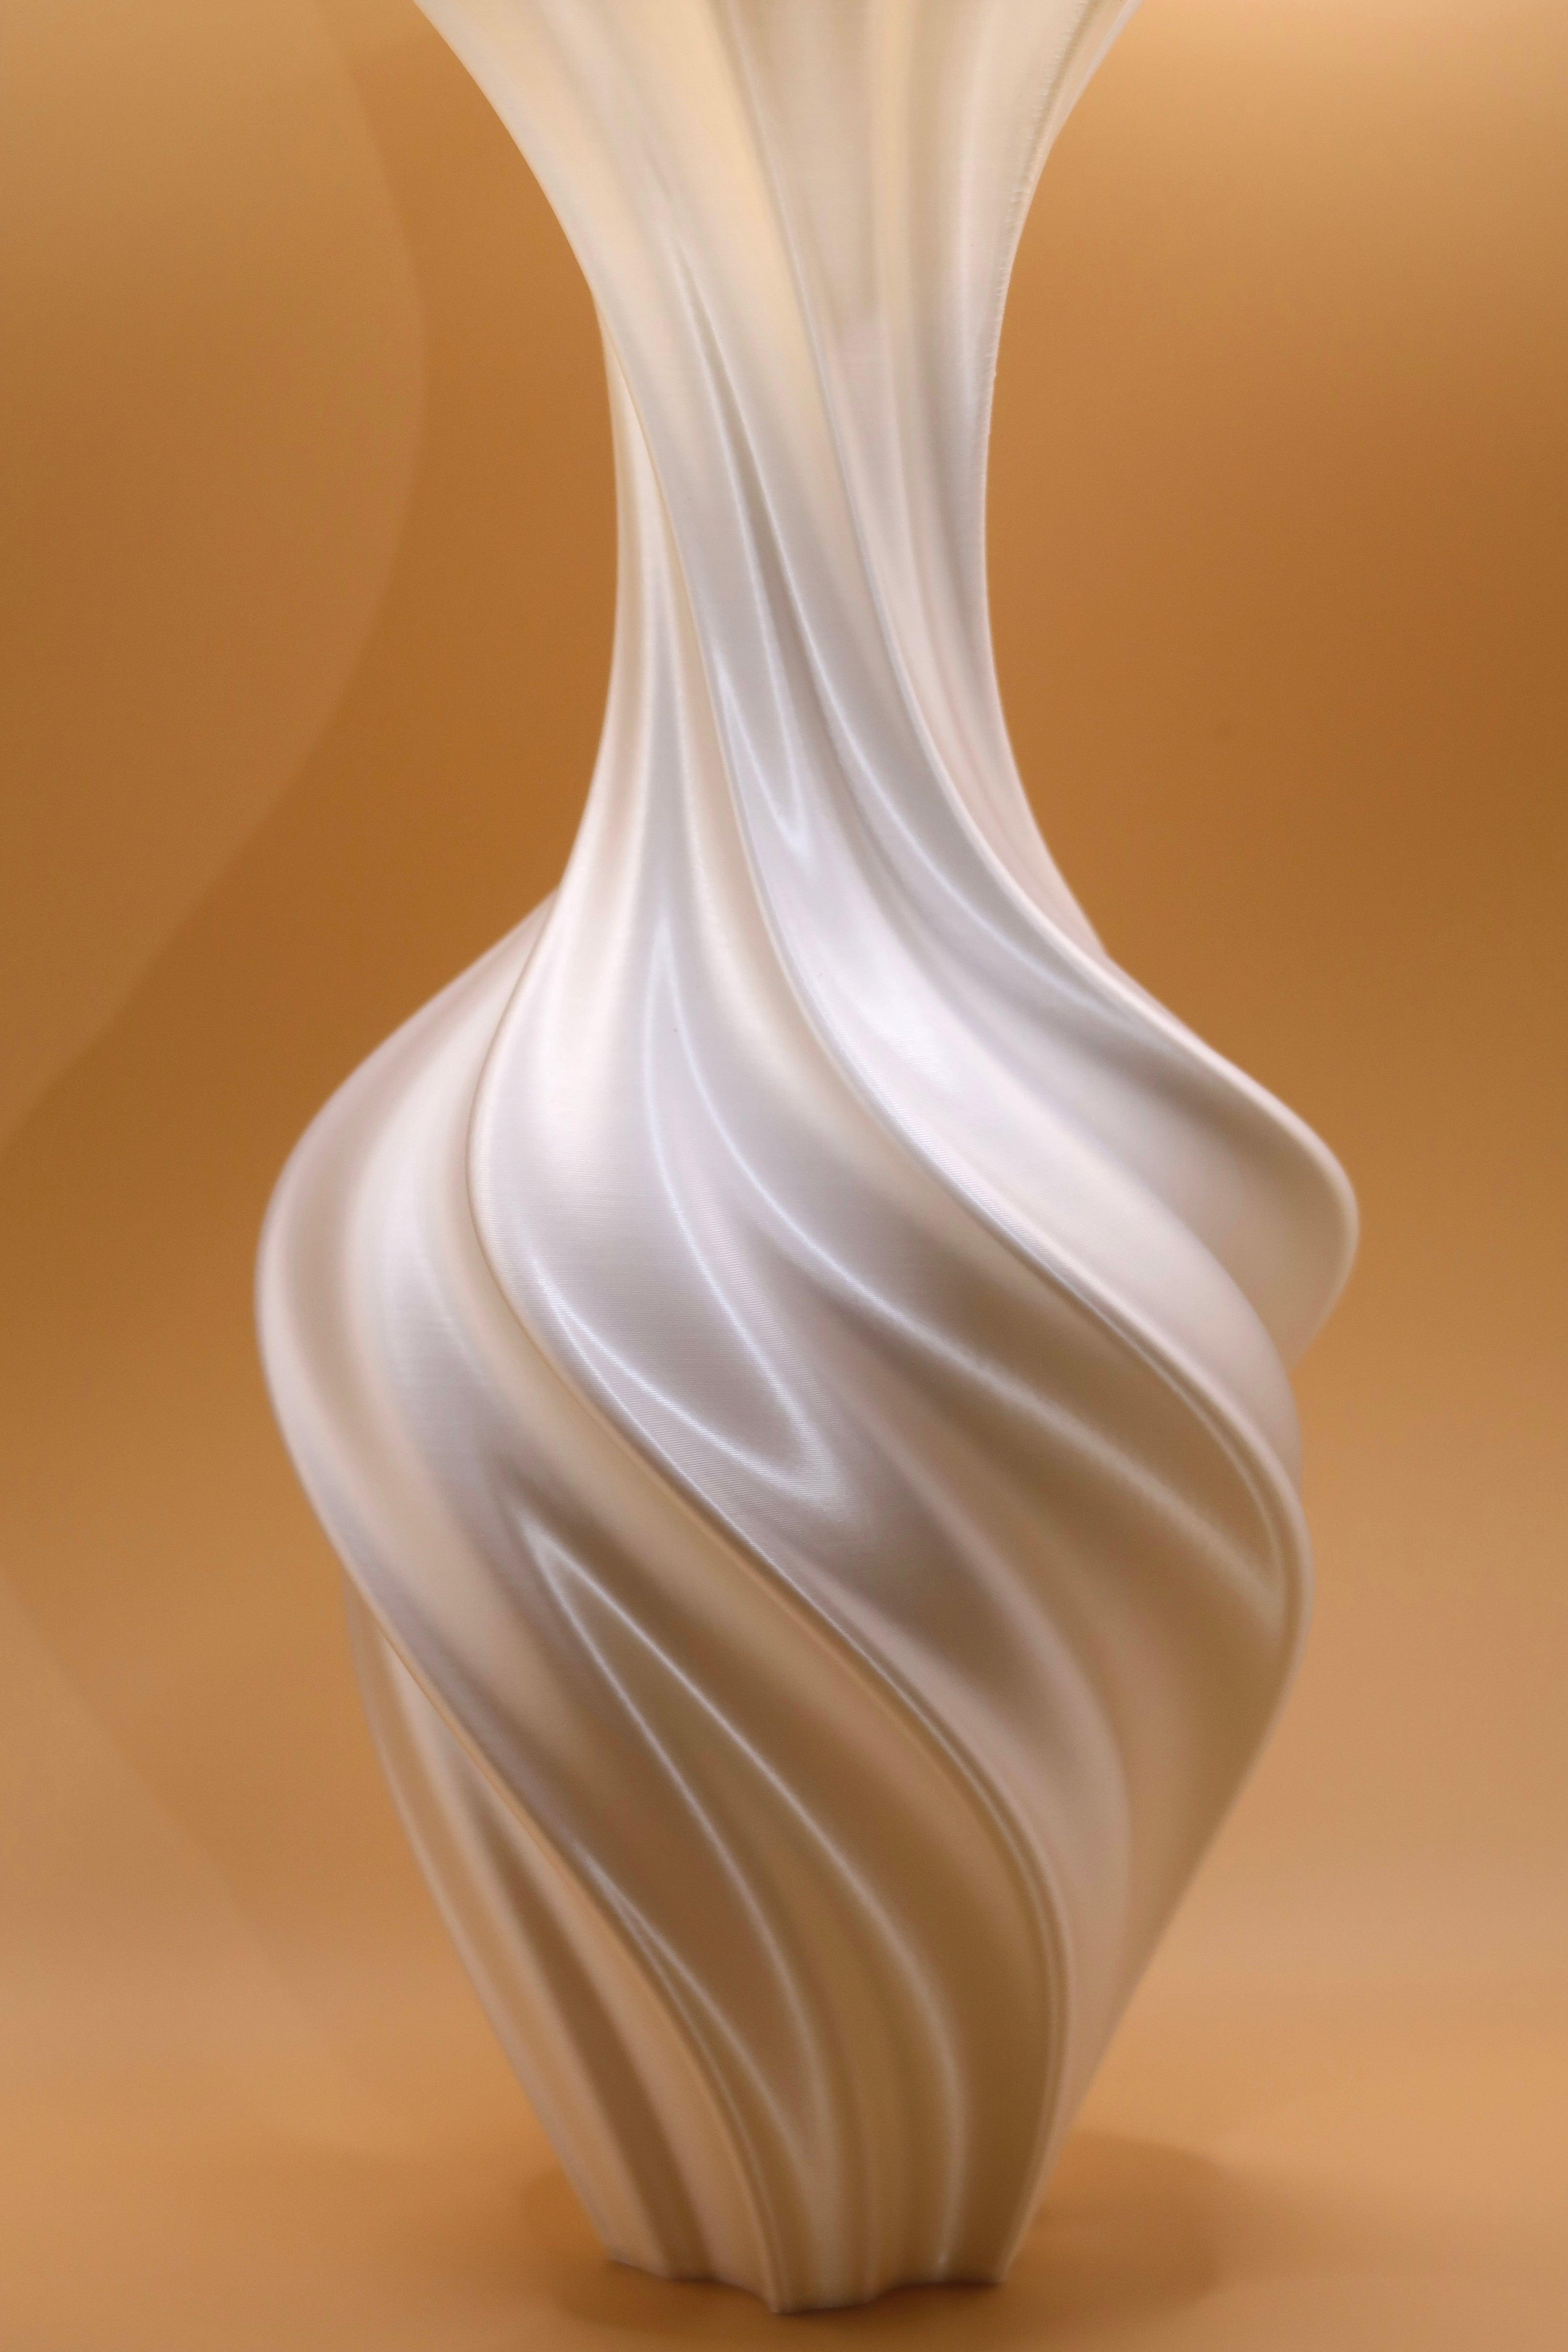
03 / ORGANIC CURVES & WAVE SURFACES
Let the geometry carry the visual quality.
Soft transitions and flowing surfaces can make a printed part feel more intentional than a collection of flat panels. They create light movement across the object and let the form itself signal care before any additional finishing is applied.
Additive manufacturing can be especially useful when a shape would be restrictive or expensive to form conventionally. That freedom still needs to work with orientation, support strategy, wall design and the actual role of the part.
USE WHEN: A concept model, lighting form or consumer-facing surface needs a more sculptural read.
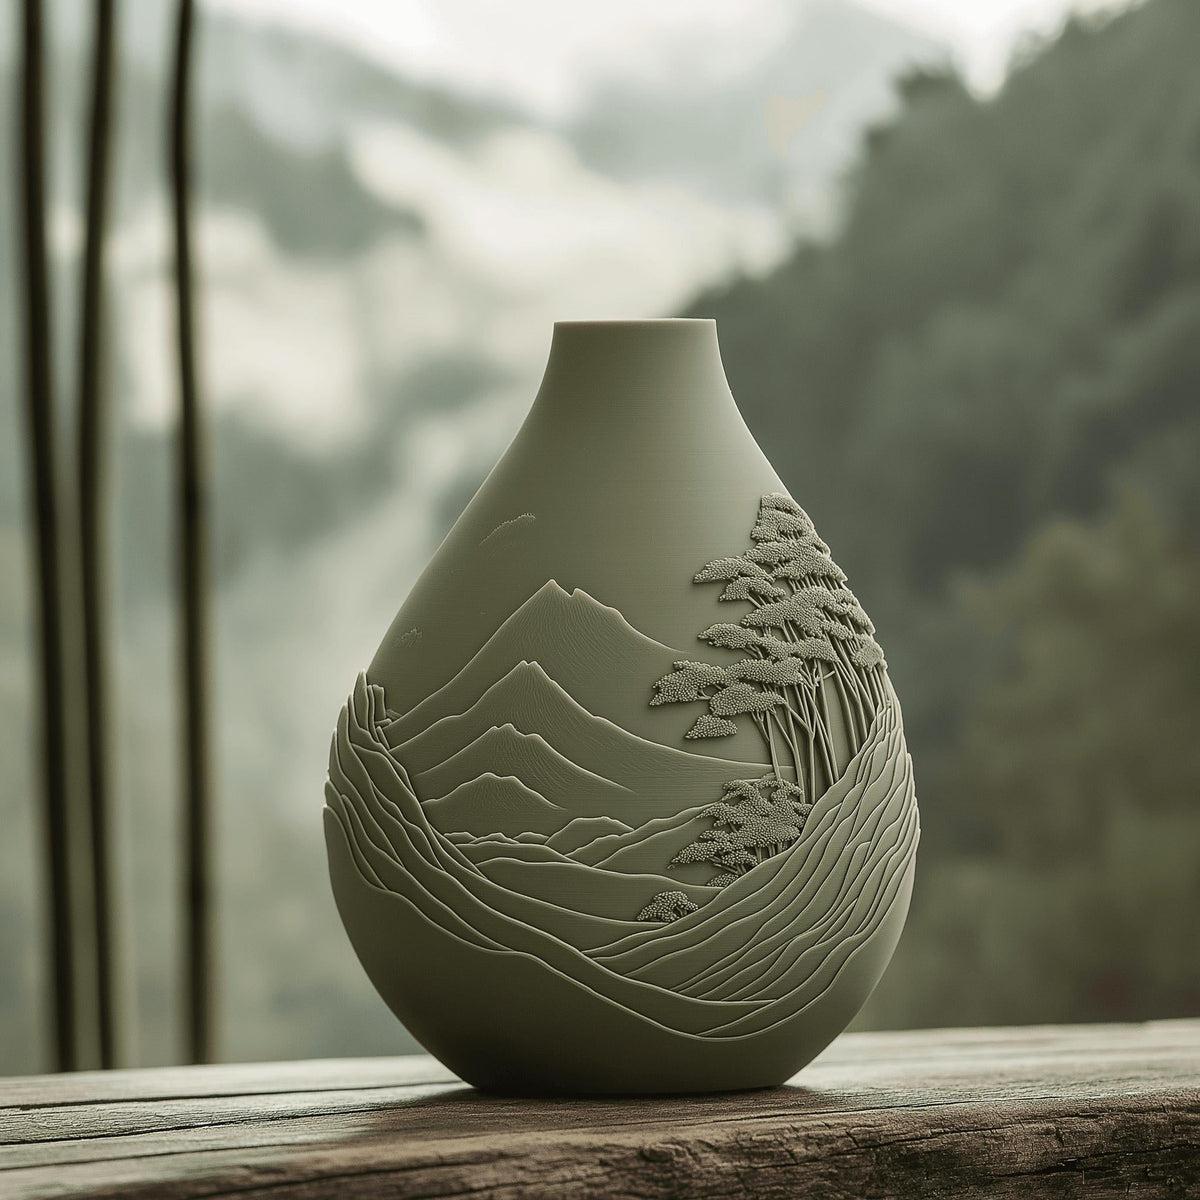
04 / CONTOUR-LINE DESIGNS
Use layering as a visible design language.
Every printed part is built in layers. A contour-line or topographic treatment can acknowledge that process instead of trying to erase it. When the line flow follows the geometry cleanly, the result can look graphic, deliberate and closely tied to additive manufacturing.
This approach is often strongest on decorative forms, statement pieces and design-forward prototypes. It is less about hiding every print artifact and more about giving the viewer a more useful pattern to read first.
USE WHEN: The product can benefit from a process-led, sculptural surface identity.
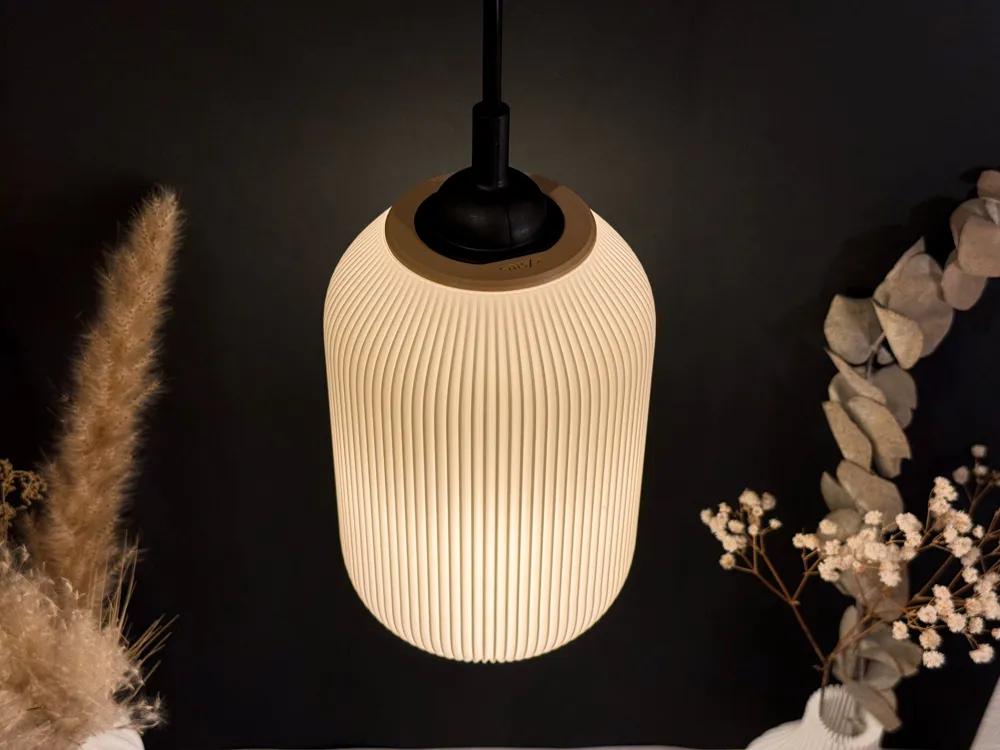
05 / RIBBED OR FLUTED TEXTURES
Introduce rhythm, shadows and a more architectural surface.
Evenly spaced ribs can make a part feel controlled and refined. They create a clear vertical or directional rhythm, introduce light-and-shadow contrast and can make the designed pattern more noticeable than the smaller marks of the manufacturing process.
Ribbing should not be presented as an automatic structural benefit. Its effect on stiffness depends on the rib geometry, material, orientation and loading. For appearance-led parts, it is best treated first as a surface decision that must remain practical to print and use.
USE WHEN: The form needs consistent repetition and a cleaner architectural character.
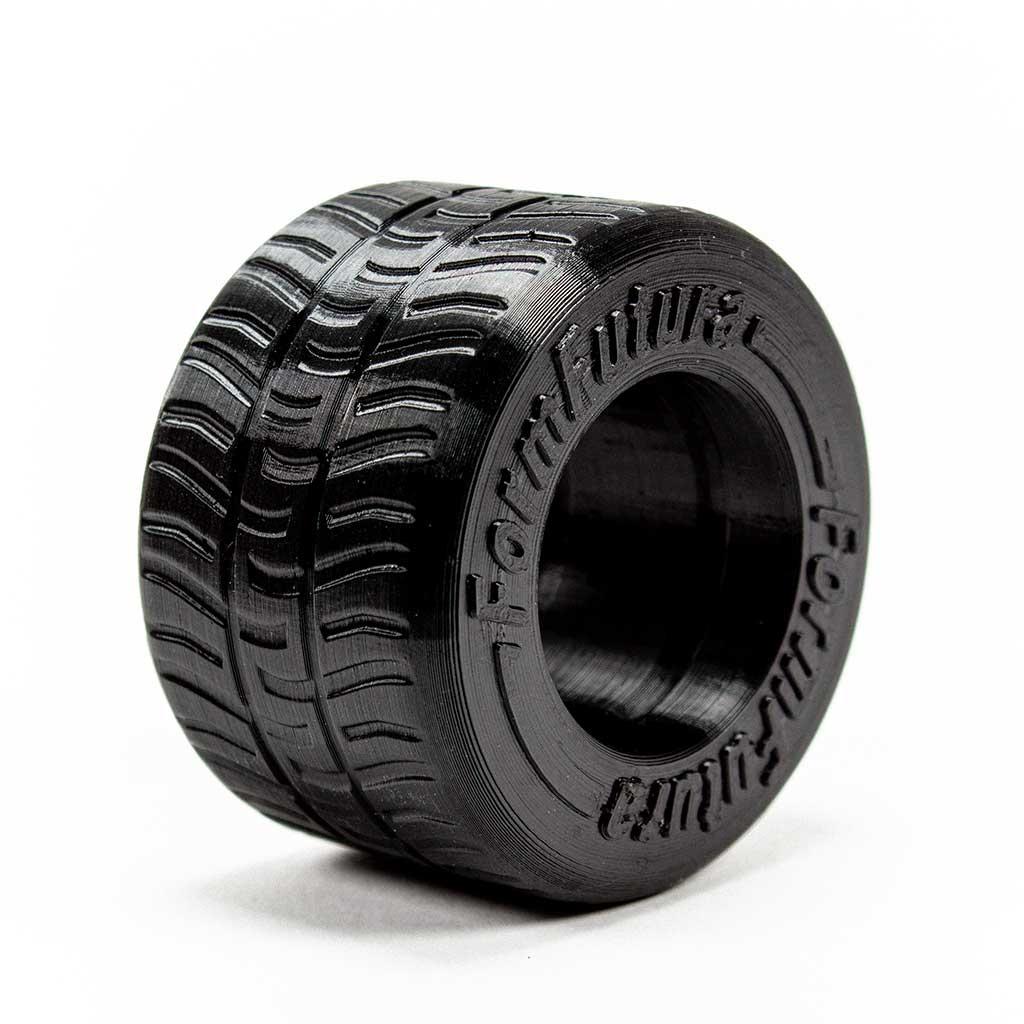
06 / GROOVED OR RUBBER-INSPIRED PATTERNS
Make interaction surfaces look more purposeful.
Repeated grooves and banded patterns can give a part a more functional, tactile impression. On a grip, wearable accessory or handheld enclosure, they can make the object appear more engineered than a smooth, undifferentiated shell.
Where grip or durability matters, the texture needs to be tested as a functional feature rather than assumed from appearance alone. Pattern depth, spacing, print direction and the selected polymer all influence the result.
USE WHEN: Touch, grip or a more equipment-like surface language supports the product story.
PROCESS STILL MATTERS
Design helps—but the right process completes the surface decision.
A strong visual direction can reduce the need to hide the process, but it cannot remove the practical differences between technologies. Choose the route from what the build needs to prove: visual detail, functional assembly, repeated use, intended quantity or a combination of these.
Early function and designed texture
Often practical when the part needs speed, iteration or a surface language that accepts visible additive character.
Fine visual detail
Can be useful for small features, smooth-looking forms and appearance reviews where surface refinement is central.
Functional polymer builds
May suit durable, complex functional parts with a surface character different from FDM or resin printing.
When the target needs more control
Sanding, coating, painting, dyeing or other finishing can be considered when the required surface goes beyond the direct-print result.
The appropriate process and finishing plan depends on the actual part geometry, intended material, use conditions, target quantity and required appearance.
FAQ / SURFACE & FINISH
Common questions before the first build.
How can I make 3D printed parts look more professional?
Use intentional surface texture, well-resolved geometry, appropriate print orientation and a suitable finishing route. The best approach depends on whether the part is being reviewed for appearance, function or an intended final use.
Which 3D printing process gives the best surface finish?
There is no single best process for every part. SLA can suit fine visual detail, FDM is often practical for early functional builds, and SLS or MJF may suit durable functional polymer parts. Geometry, material, finish target and use determine the suitable route.
Can textured surfaces reduce the visual impact of layer lines?
Yes. Texture such as fuzzy skin, ribbing, contour lines or designed grooves can make the surface read as intentional rather than leaving layer lines as the dominant visual feature. The geometry and printing route still need to be reviewed for the part.
Are 3D printed parts suitable for final products?
In some projects, yes. Suitability depends on material, geometry, intended use, quantity, required finish and the performance the part needs to achieve. A manufacturing review helps determine whether additive manufacturing remains the right route.
Is post-processing always necessary for professional-looking 3D printed parts?
Not always. Intentional geometry and texture can create a strong visual result directly from printing. Sanding, coating, painting, dyeing or other finishing may be useful when a smoother or more controlled surface is required.
FROM PROTOTYPE TO PROFESSIONAL PRODUCT
Bring the visual target into the project review.
Send a CAD file, drawing or reference image and explain how the part needs to look, feel and perform. We will help frame a practical printing, finishing or manufacturing route around the next decision.
Start a Project Review →3D printing routes · rapid prototyping · electronic enclosures